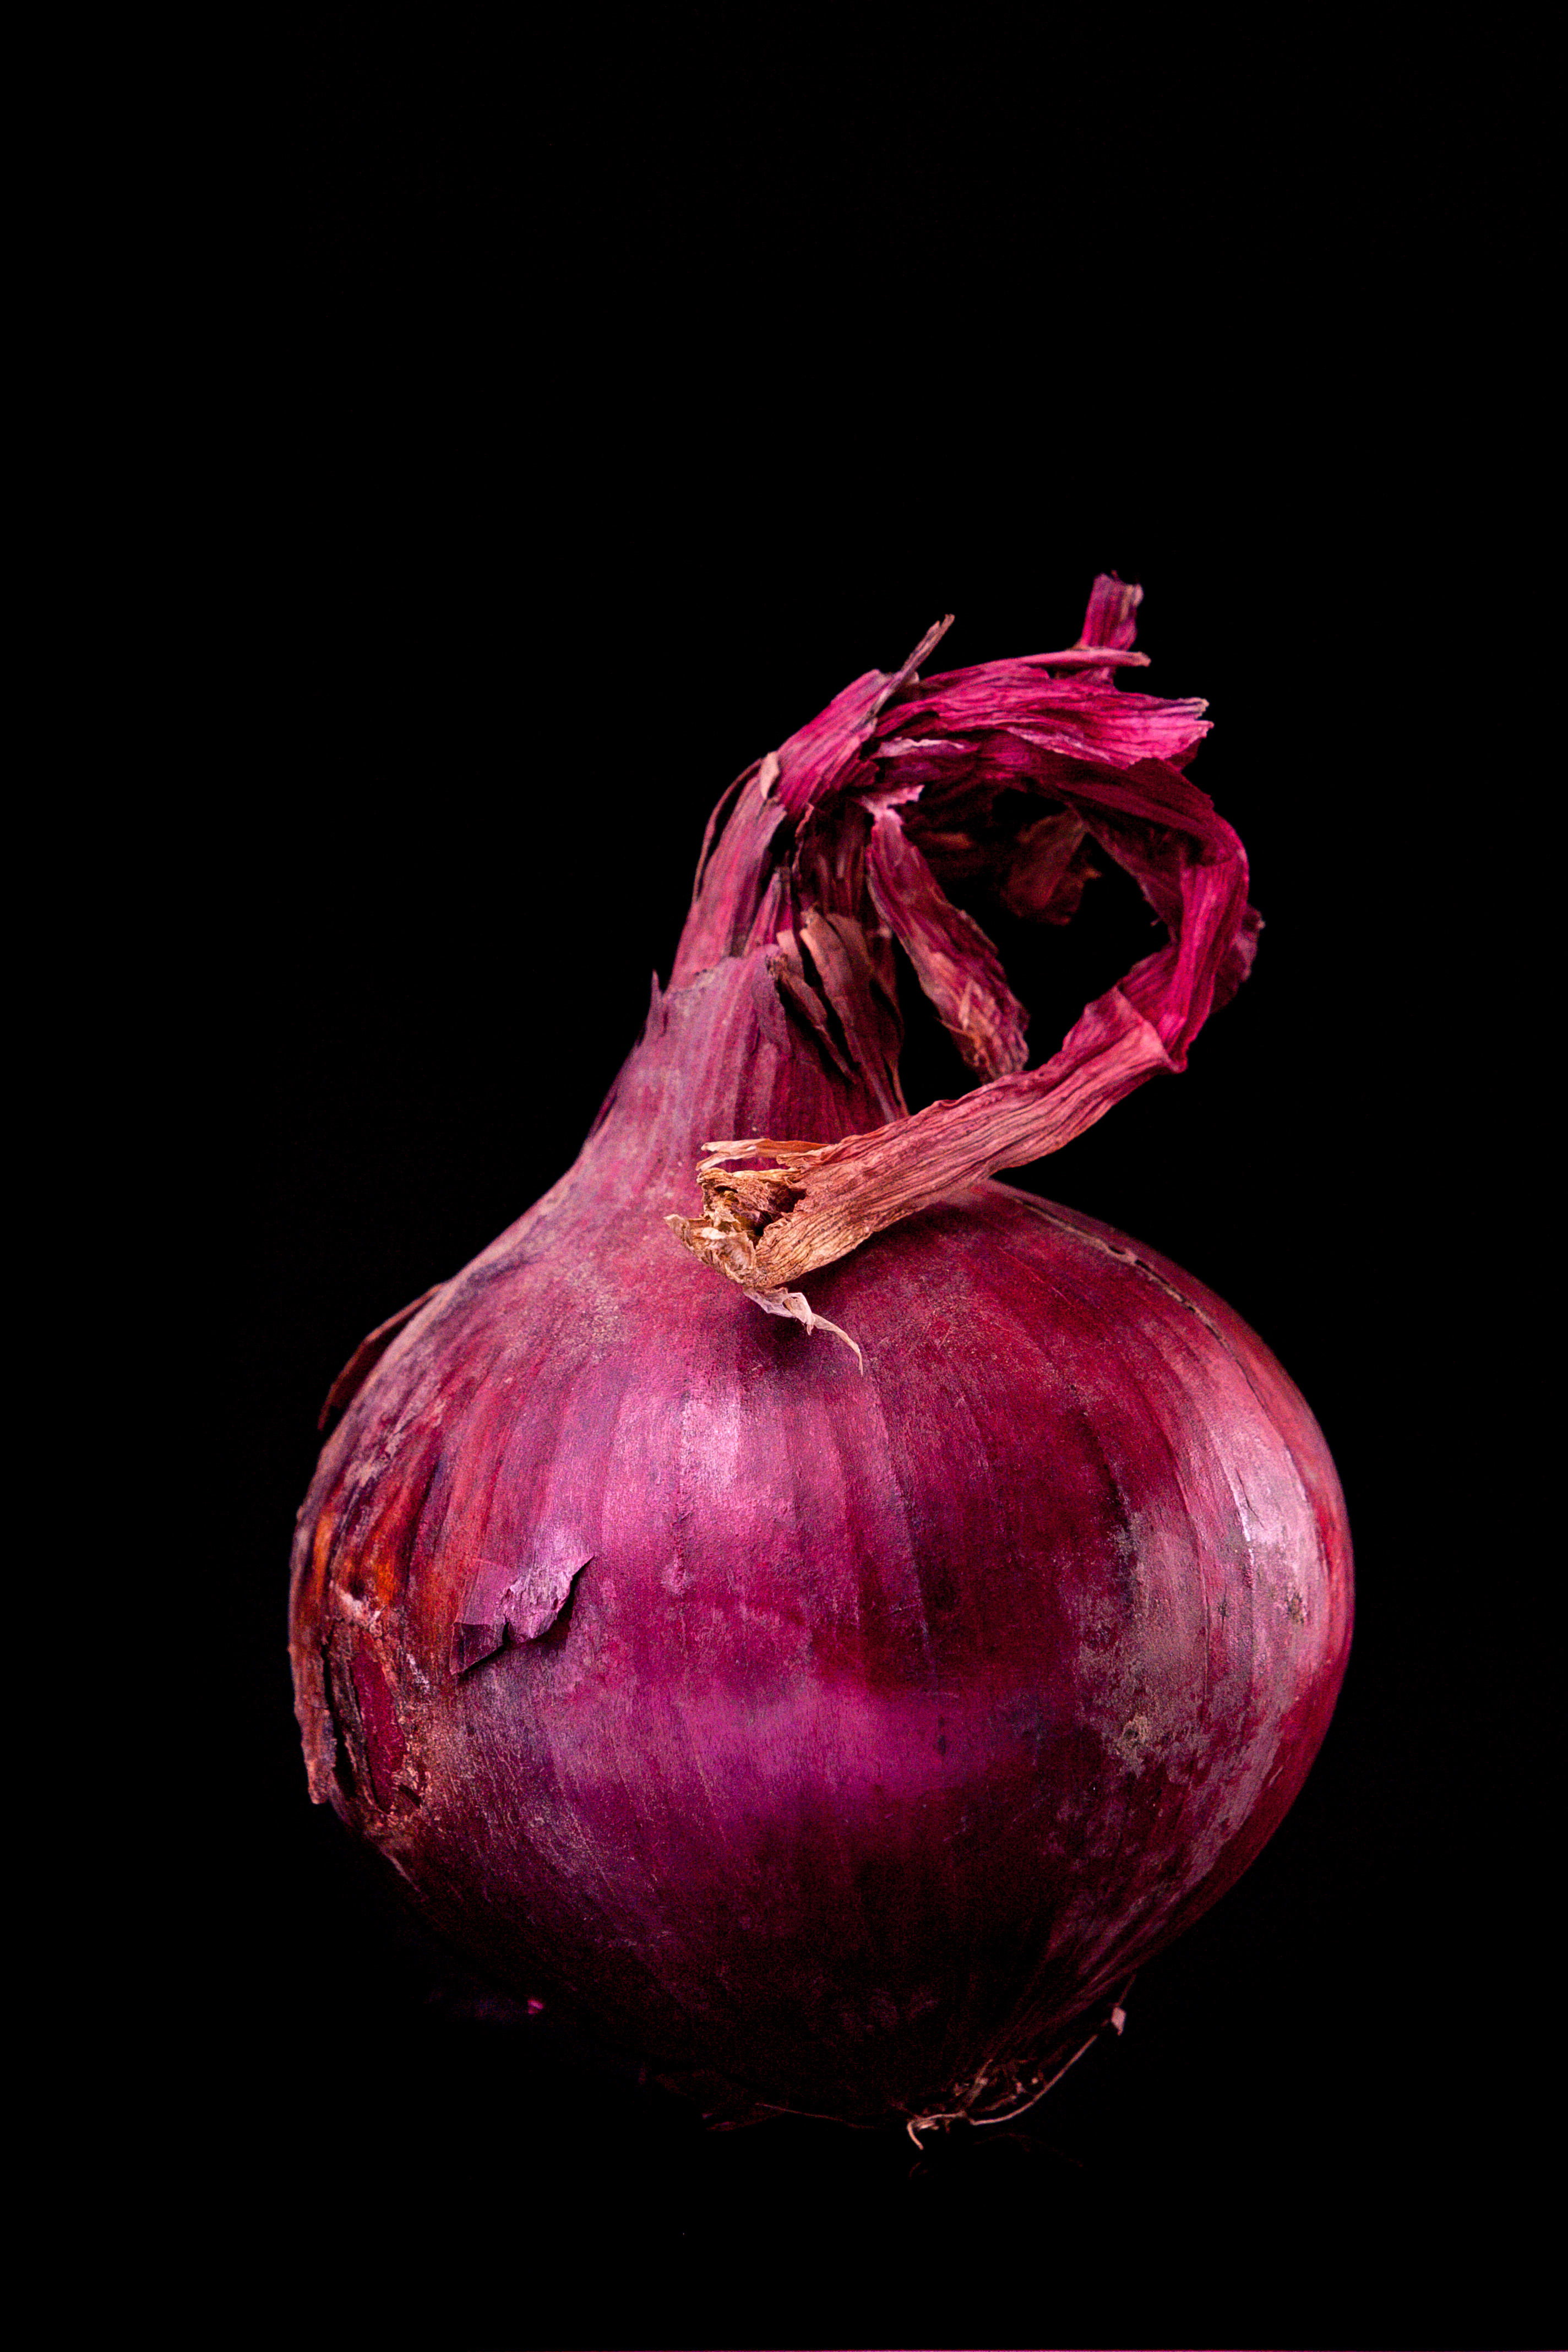
MILLION DOLLAR ONION
On my ride to create million dollar pictures of foods and vegetables I created some days ago the million dollar onion. Continue for a BTS of the shoot.

So, before I continue, just a quick info, that I will try to think of setup shots for future posts and will also include lighting diagrams as soon as I get hands on a good tool.
Setting up the onion
This is fairly simple. The million dollar onion was placed on a black glas table, roughly 1,5 m away from the camera. This was required since the minimum focusing distance of my old but trusty 2,8 70-200L is exactly 1,5 m. About 1 m behind the onion I placed a piece of black foam. This way I could avoid any light reflected from the background, that the camera could register. In order to keep the onion upright in the position I just stuck a fork in its back. Since the handle of the fork is fairly thin and could allow side tilting, I used some sticky paste to fix the fork to the table. If you want to avoid reflections in the glas, one thing you can do is to elevate the subject and let it “fly” above the table. In this case, you could put something black, non-reflective between fork and table.
A different method to avoid reflection is to use a circular Pol-Filter or to simple change the position of the camera until the reflection gets out of your frame.
Lights
I used two speedlights on this one. My 540 EZ and 430 EX from Canon. Both triggered by Yongnuo remotetriggers. They are cheap. Easy to use and fairly reliable. Would I use them on a commercial shoot. Only if I can’t avoid it. One reason is, that the ones I have, seem easy to break and whem I am in the hustle I need equipment that I trust. I would rent out some quality brands.
Back to topic. One Flash camera left at about 45° and high up, something rembrandt lighting like. I diffused the flash by holding my large reflector (diffusing surface only) between flash an subject, just out of the frame. On camera right, I had the second flash through a grid positioned a bit behind the onion. The power was set to the minimum, so I could bring it close in and get some nice side lighting.
Editing
The image was edited in Lightroom. No big work. I concentrated on getting black things black, enhanced the colour a bit, got rid of dust sparkles and sharpened the image. Done.
This is it. I hope you like this post and like always, I am eager for feedback on the image, the posts content or my bad english. So go ahead and comments.
So far so good, until next time,
Armin
